
Why WordPress emails are landing in spam
• 7 min read
“Have you checked your spam folder?” and “Why are my WordPress emails going to spam?” are commonly encountered issues that we deal with on a regular basis. Every website relies on emails – account confirmations, WooCommerce notifications, billing correspondence. When these emails end up blocked or in spam folders instead of reaching the intended recipients, it creates significant problems for any business.
In this article, we’ll cover the difficulties encountered with email delivery and their resolutions, discussing SPF, DKIM, and DMARC protocols alongside DNS configuration examples using Microsoft Office 365.
The “plugin” approach
One of the most straightforward methods for resolving email problems involves using a third-party SMTP service. Sendinblue is an all-in-one marketing platform that has an absolutely free plan with no expiration that has a generous daily limit of 300 emails. This makes it a great option for individuals and small startups.
When paired with WP Mail SMTP by WPForms, the integration becomes straightforward:
Step 1: Install and activate the plugin.
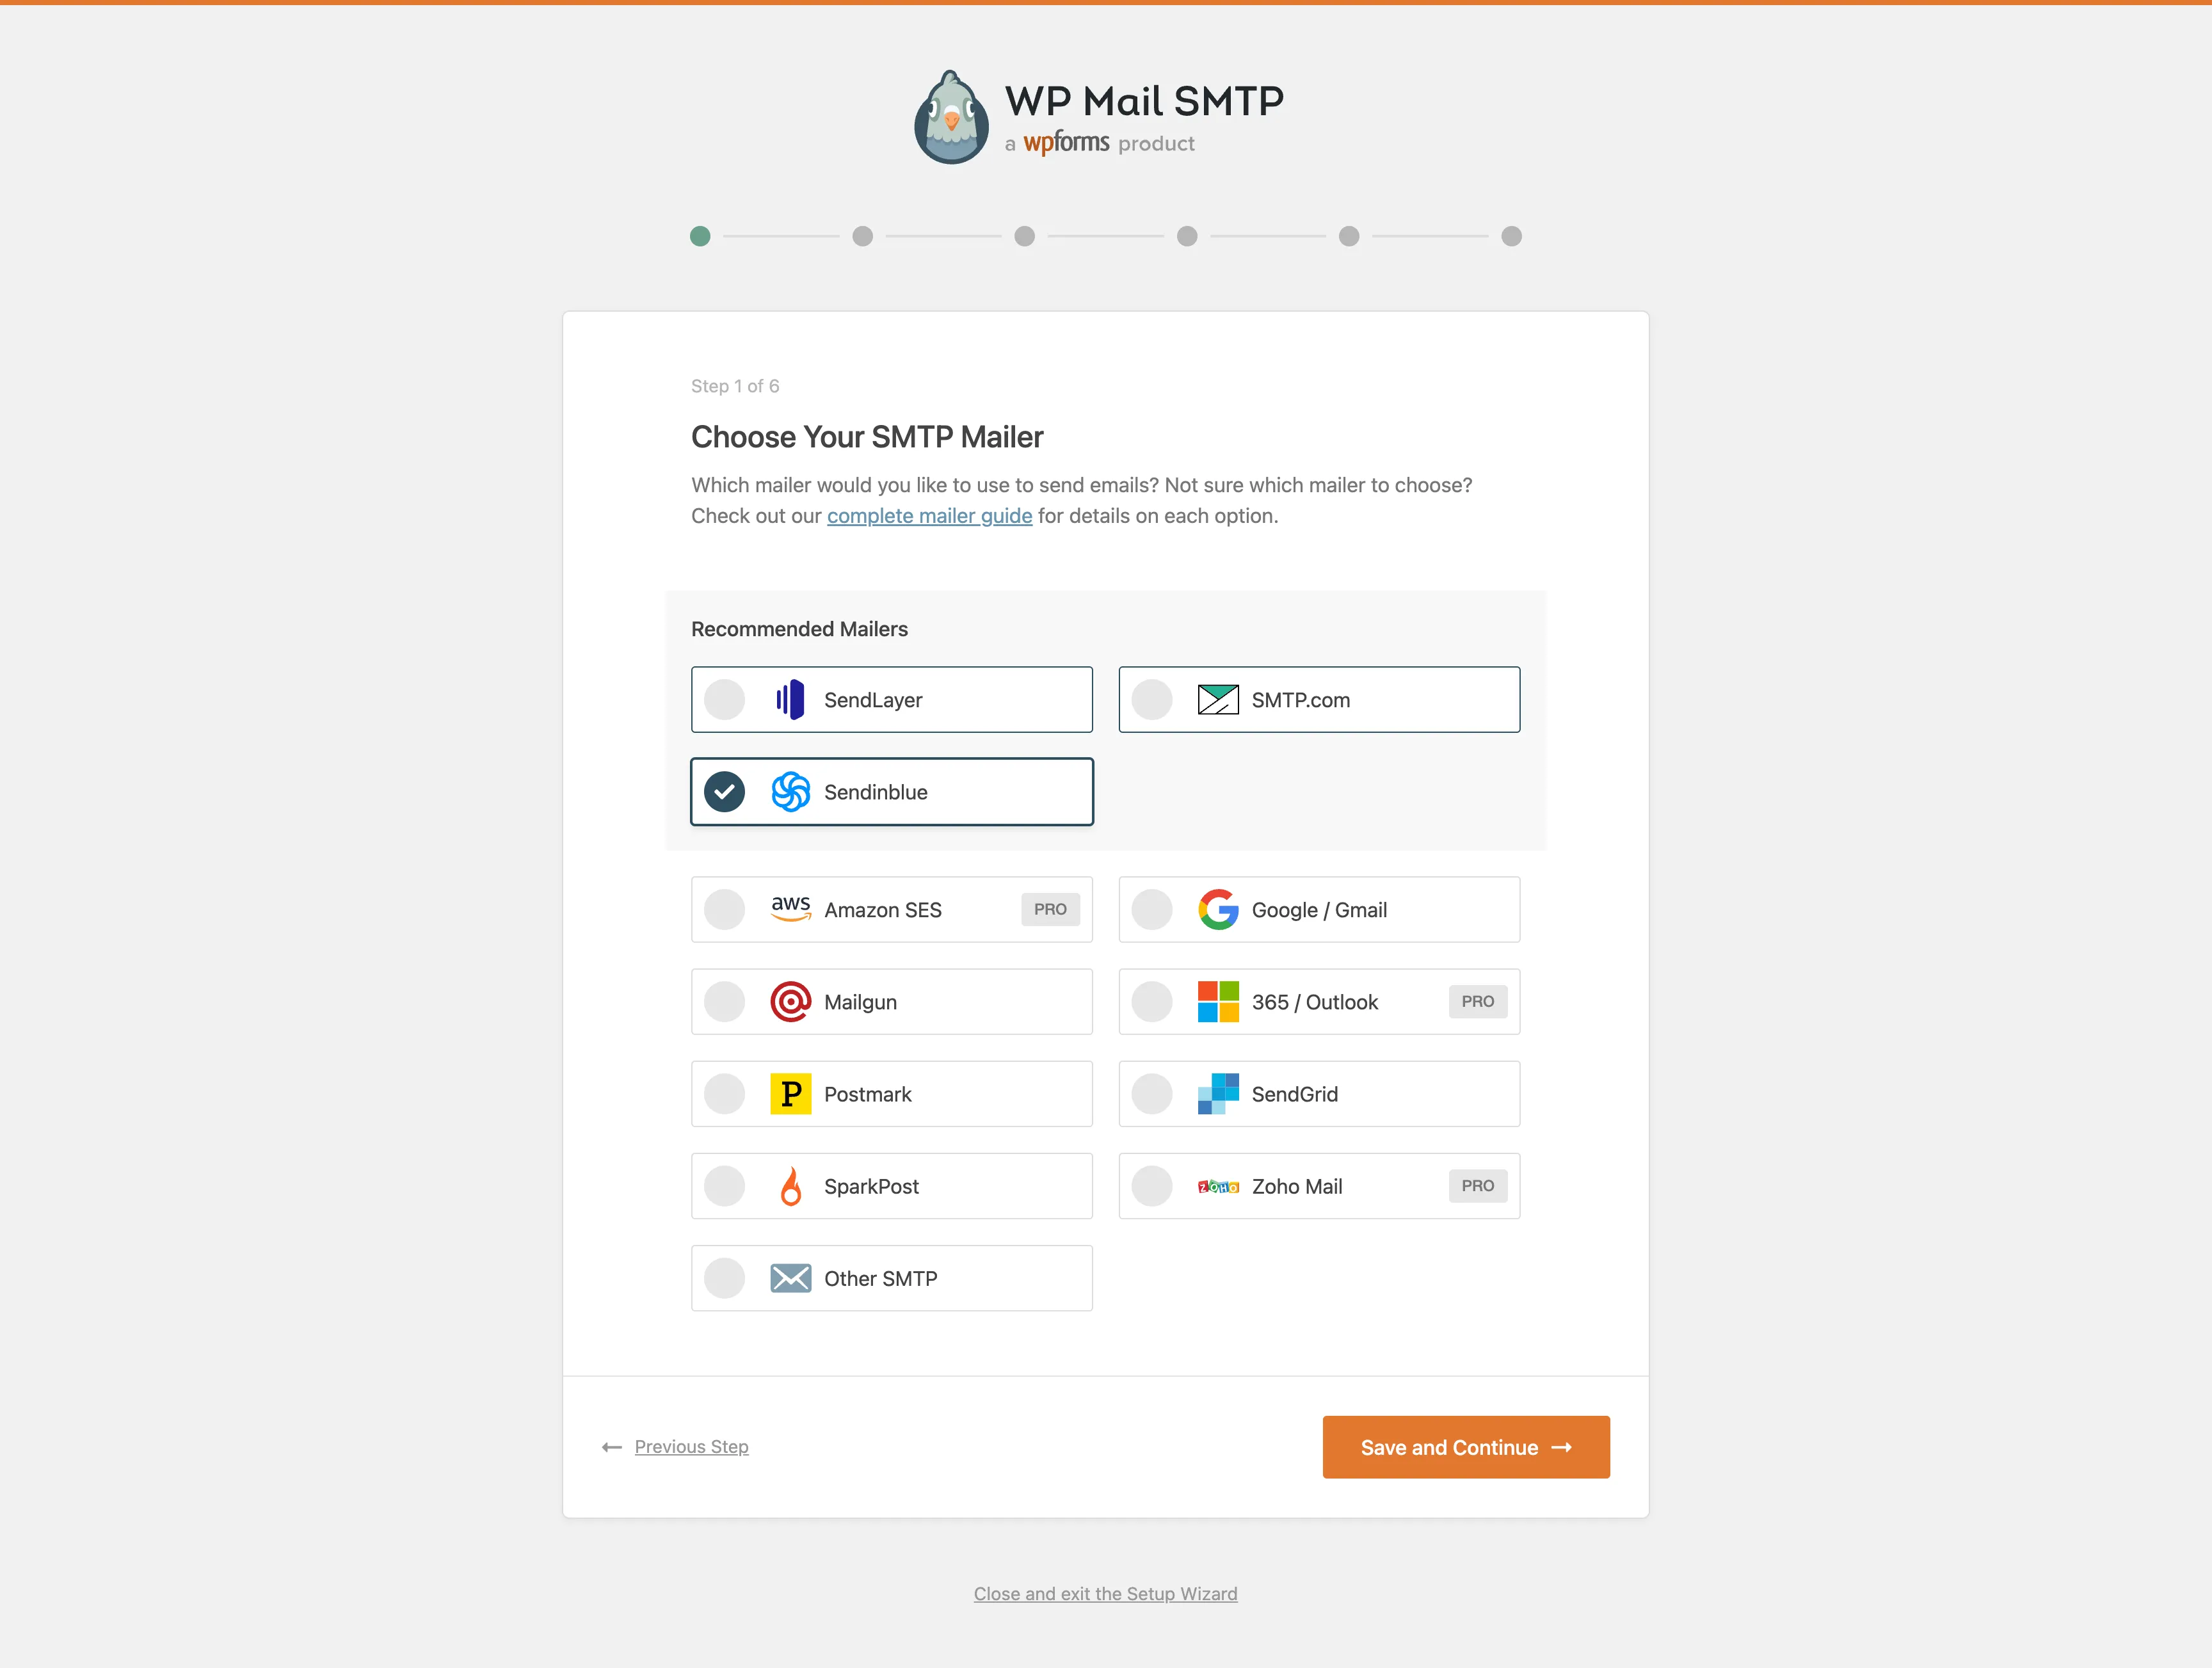
Step 2: Select the SMTP service of your choice.
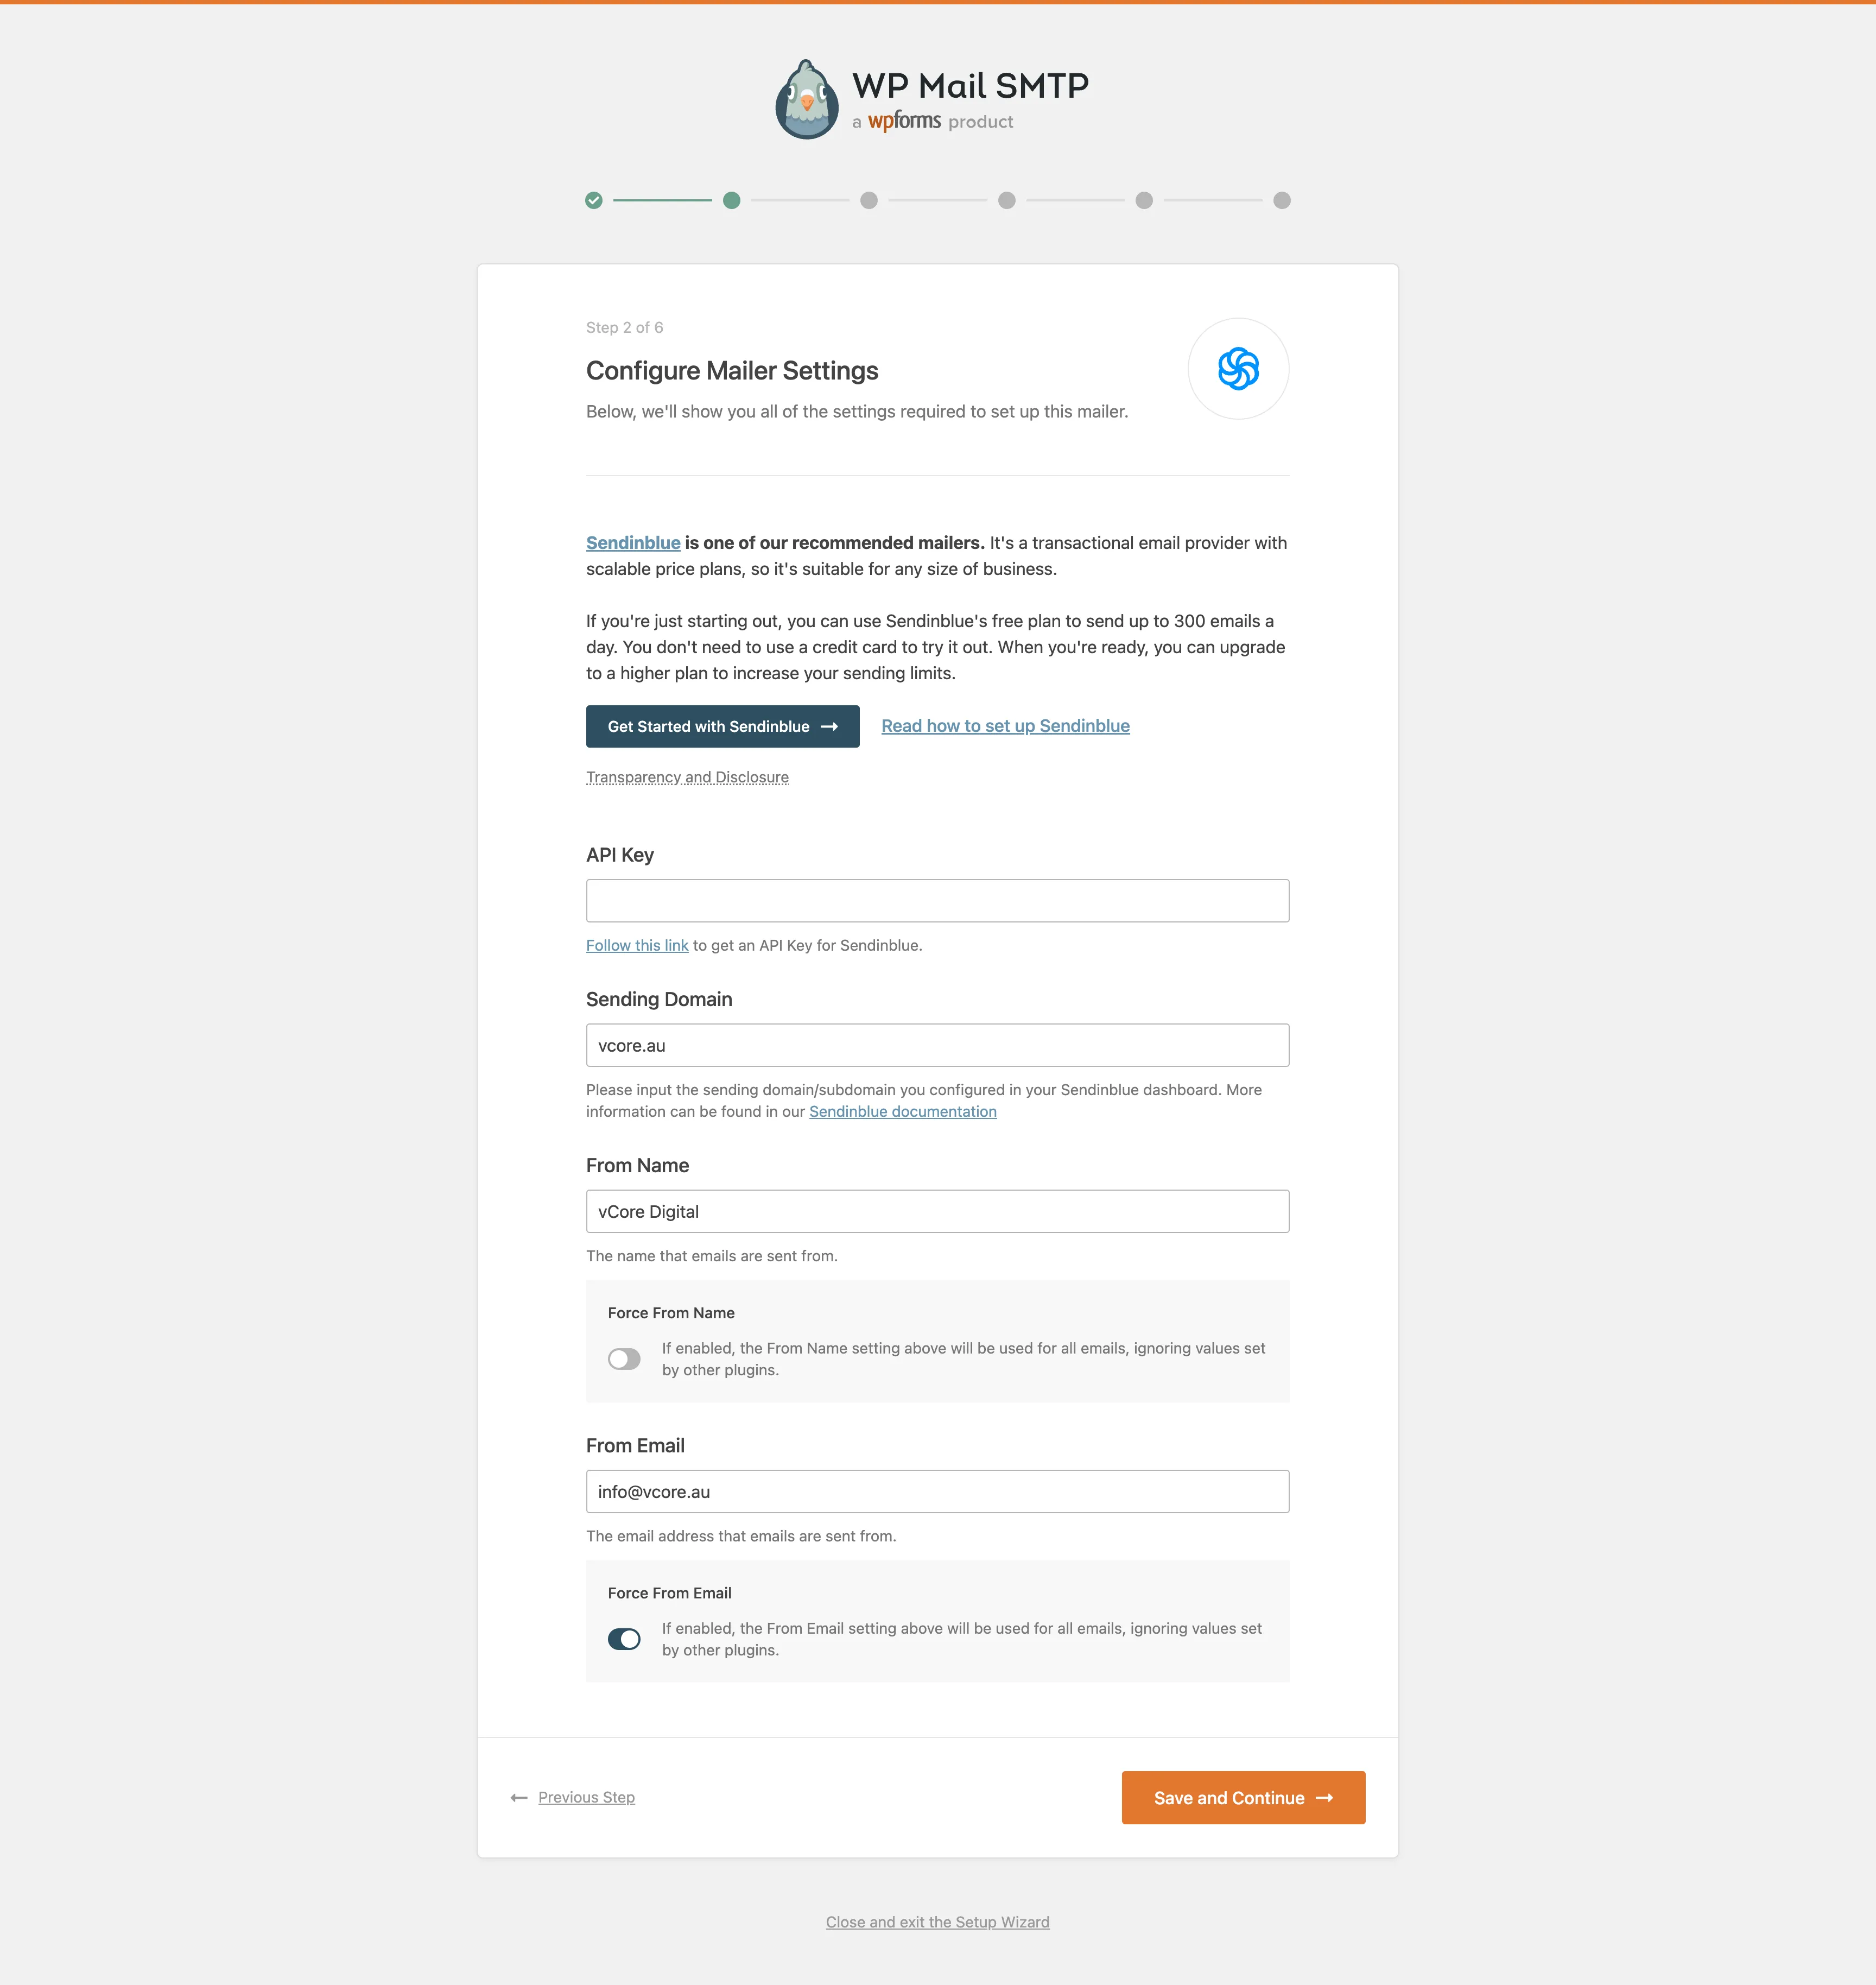
Step 3: Follow the wizard instruction, generate an API key and fill in the “Sending Domain”, “From Name” and “From Email” fields.
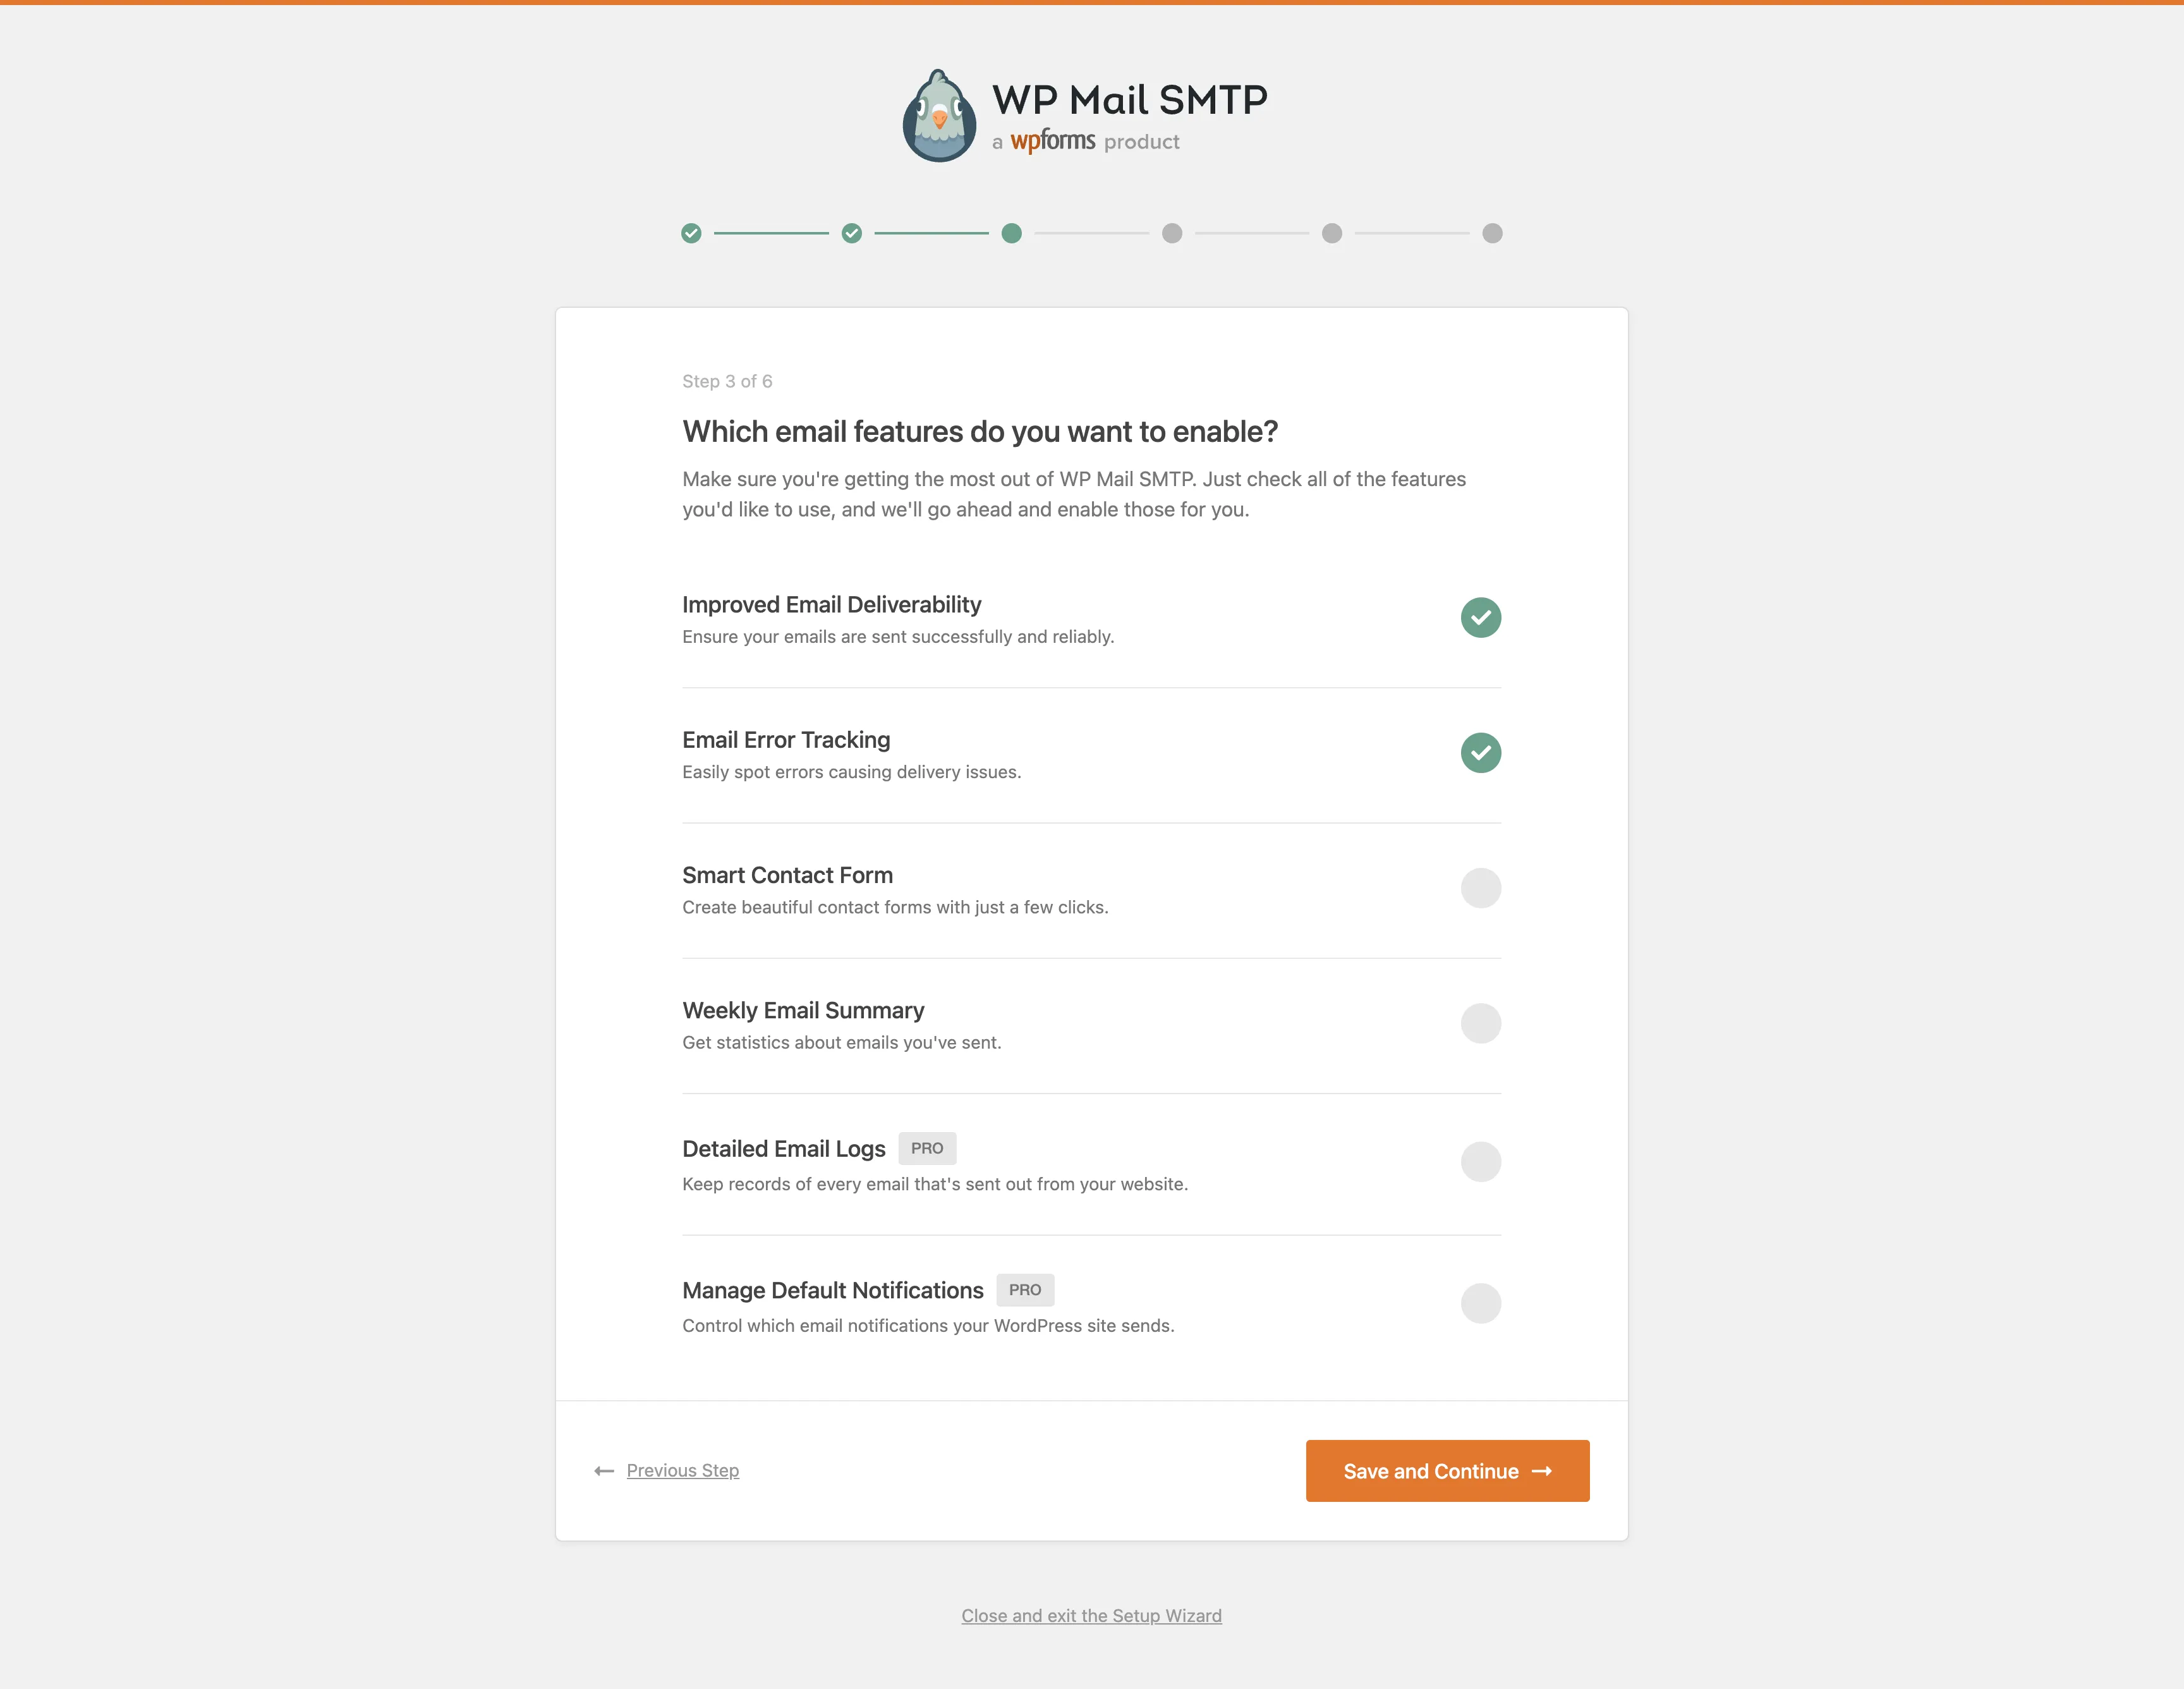
Step 4: Select any additional options that might be required.
Step 5: Complete the wizard (all the other optional steps can be skipped).
The process couldn’t been simpler!
However, in some cases using a third-party plugin might not be an option. For example, some companies will restrict what plugins can be used on the site. In that case, we will need to look at more technical solutions.
The “expert” approach
First of all, we need to understand the root cause of the problem. How are emails being sent in WordPress and why do they end up blocked or in spam folder?
When you send an email from your WordPress website, the outbound mail server receives the email and forwards it through the internet to the recipient’s inbound mail server. However, the inbound server will check the Return-Path header to determine whether that server can legitimately send emails. This is often the culprit, where majority of emails will get flagged as spam and either will get dropped or directed to the recipients spam folder.
There are three authentication standards that can help prevent this:
SPF (Sender Policy Framework)
The Sender Policy Framework, or commonly known as SPF is a standard email authentication method. It helps protect your domain against spoofing (forged sender addresses), a technique often used in phishing and email spam, and helps prevent your outgoing messages from being marked as spam by receiving servers.
SPF specifies the mail servers that are allowed to send email for your domain. When a receiving mail server receives a message from your domain, it compares the SPF record to the outbound mail server information. This helps the receiving mail server determine whether the message is legitimate or forged.
The configuration is done in the DNS TXT records for your domain and a typical SPF record will look something like this:
example.com. IN TXT "v=spf1 a mx -all"v=spf1– this is an SPF record with version spf1a– the A DNS record(s) of the sender domain will be compared against the sender’s IP addressmx– the MX DNS record(s) of the sender domain will be compared against the sender’s IP address-all– tells the server that addresses not listed in the SPF record are not authorized to send emails and should be rejected. If you want to flag the emails as potential spam, instead of rejecting them, you should use~allinstead
For Microsoft Office 365, a typical SPF record will look something like this:
example.com. IN TXT "v=spf1 a mx include:spf.protection.outlook.com -all"One very important thing to keep in mind – having multiple SPF TXT records will actually produce the opposite result and your SPF validation will fail. Make sure to merge all rules into one entry.
DKIM (DomainKeys Identified Mail)
The DomainKeys Identified Mail (DKIM) is an email authentication method designed to detect email spoofing. It allows the receiver to check that an email claimed to have come from a specific domain was indeed authorized by the owner of that domain. This is achieved by affixing a digital signature, linked to a domain name, to each outgoing email message. The recipient system can verify this by looking up the sender’s public key published in the DNS. A valid signature also guarantees that some parts of the email (possibly including attachments) have not been modified since the signature was affixed.
Unlike SPF, DKIM only encrypts the email headers, not the full body of the email.
For Microsoft Office 365, this will require two CNAME DNS entries:
selector1._domainkey.example.com.  3600  IN  CNAME  selector1-example-org._domainkey.example.onmicrosoft.com
selector2._domainkey.example.com.  3600  IN  CNAME  selector2-example-org._domainkey.example.onmicrosoft.com
After publishing the records, you will need to activate DKIM in Office 365’s administration panel under Administration > Exchange > Security > DKIM. For Sendinblue, the required DNS entries will be provided once you configure a domain in the Senders and IPs section.
Important caveat: SPF and DKIM alone don’t guarantee delivery – look at these as instruments to help improve the decision making process on the recipient side.
DMARC (Domain-based Message Authentication, Reporting and Conformance)
DMARC (Domain-based Message Authentication, Reporting and Conformance) is an email authentication protocol designed to give email domain owners the ability to protect their domain from… you guessed it right — spoofing. The purpose of implementing DMARC is to protect a domain from being used in business email compromise attacks, phishing emails, email scams and other cyber threat activities.
Once the DMARC DNS entry is published, any receiving email server can authenticate the incoming email based on the instructions published by the domain owner within the DNS entry. If the email passes the authentication, it will be delivered. If the email fails the check, depending on the instructions held within the DMARC record, the email could be delivered, quarantined or rejected.
DMARC extends the two existing mechanisms (SPF and DKIM). It lets the domain owner of the DNS (admin) publish a policy in their DNS records to specify which mechanism (DKIM, SPF or both) is employed when sending email from that domain; how to check the From field presented to end users; how the receiver should deal with failures; and a reporting mechanism for actions performed under those policies.
A DMARC DNS entry will look something like this:
_dmarc.example.com. IN TXT "v=DMARC1; p=none; pct=100; rua=mailto:<email for reports>; sp=none; aspf=r;"v=DMARC1– this is a DMARC record with version DMARC1p=none– specifies how the server should handle emails that fail the checks. Usenonewhen setting things up. Other values includereject(email will be rejected) andquarantine(email will be quarantined)pct=100– defines the percentage of emails that should be processed by the server. The default value is100(all emails), but if you are rejecting emails withp=reject, you might want to start with a lower value, for example,pct=10, and gradually increase once you are sure that no legitimate emails are being rejectedrua=mailto:<email>– the email address where the reports will be sent
Providers that support DMARC will send XML reports to the specified email address, containing sender IP information and SPF/DKIM validation results. These reports can be quite difficult to read, but third-party services like Postmark can translate these technical reports into digestible formats.
Final thoughts
Emails are an important part of any business. There are multiple ways of making sure your users and clients get the intended correspondence. Be proactive and always check your site before launch, make sure you have setup everything on your DNS and there’s a reliable SMTP provider that you can trust to deliver your mail.
Testing resources:
- mail-tester.com – a great tool for testing your email deliverability
- check-auth@verifier.port25.com – send an email to this address and you’ll receive a report with SPF, DKIM and DMARC results
- Postmark DMARC Guide – a great guide on DMARC